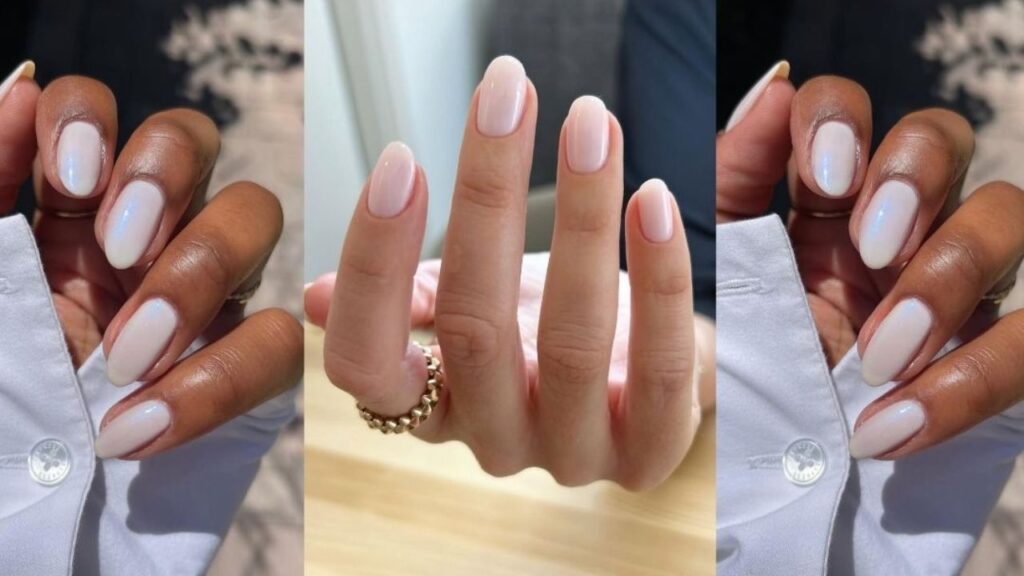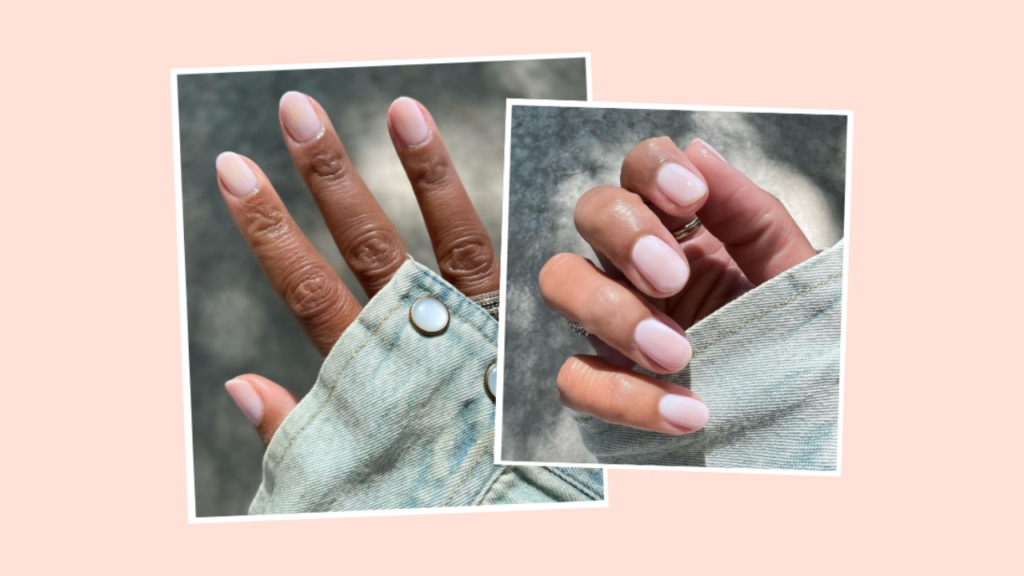
The milky manicure is the Sofia Richie of manicures. It gives clean, classy, and elevated while remaining understated and simple—which is exactly why we love it (and Sofia, obviously). With a clean manicure base and a cloudy-white, slightly transparent finish, the milky manicure is trendy enough to pair with your silver ballet flats while remaining professional enough for the office. And what’s more, it’s a fit for every skin tone and season. So basically, this manicure can do it all.
And it’s not just us who thinks so. In addition to Sofia’s milky manicure throughout her wedding weekend and honeymoon, other celebrities (looking at you Jennifer Aniston, Hailey Bieber, Zoë Kravitz, and Kim Kardashian) and influencers alike have been spotted with their own milky mani moment.
Slated as one of the biggest nail trends in 2023, we’re breaking down exactly how to get the look. Ahead, a step-by-step guide to achieving a milky manicure.

Step 1: Prep a Clean Manicure Base
If you’re a clean manicure girlie, shoutout to you for already being ahead of the game when it comes to prepping your nails for a milky manicure. The natural yet meticulously maintained look that is a clean mani is the base of a milky manicure, so you’ll want to start by cleaning and exfoliating your hands, nails, and cuticles, followed by buffing, smoothing, and shaping your nails. (Sofia’s signature shape is a soft square, but this look works just the same on whatever shape you desire). This preparation, when done right, can make your nails appear like they have clear polish on them, which is exactly what you want before adding colored polish.

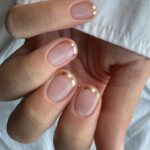
Step 2: Apply Polish & a Glossy Top Coat
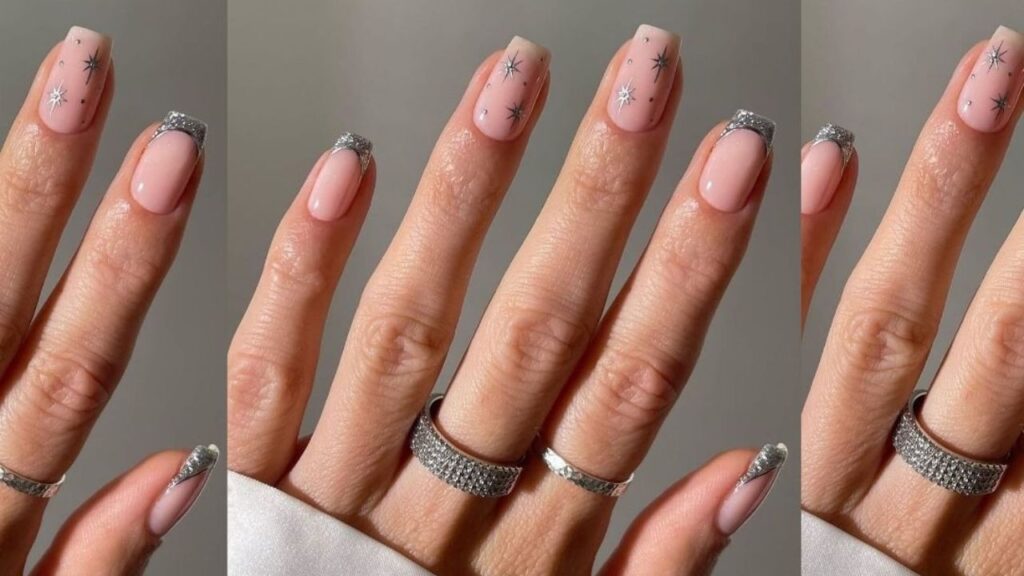
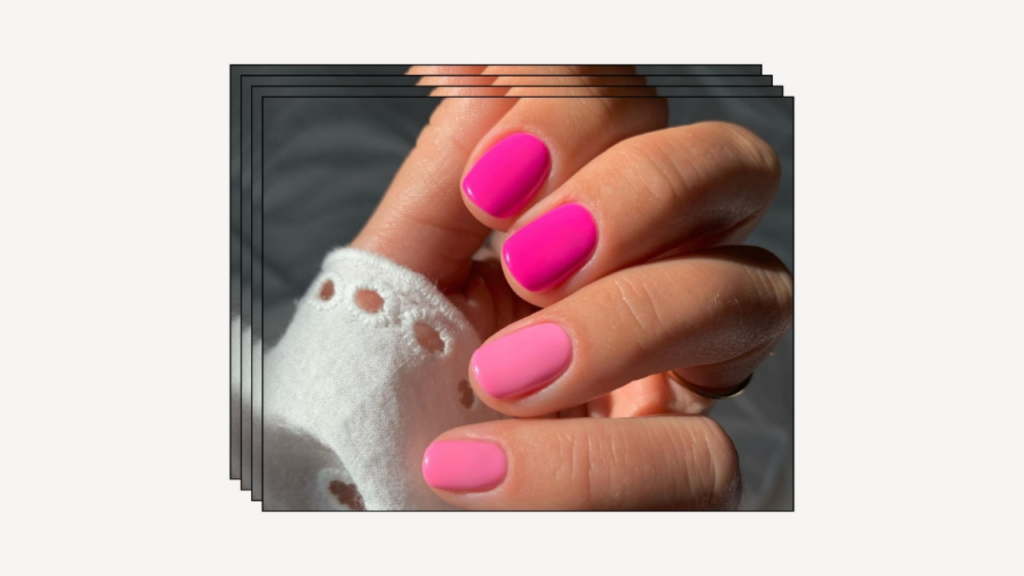
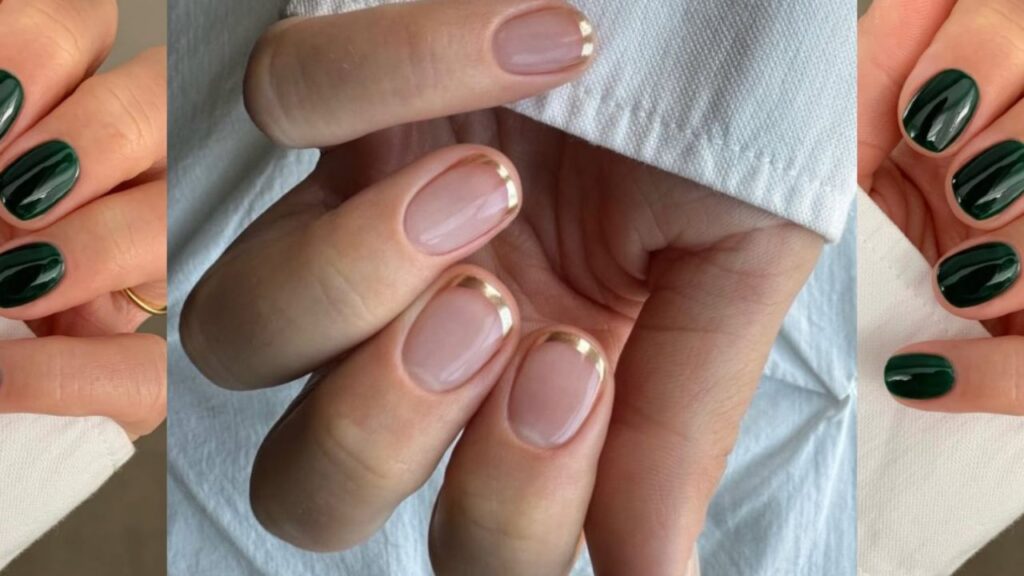
The MVP of the milky manicure is the polish, which is why it’s so important that you get not only the shade right but the number of coats too. The milky look has been done in both white and pink (the color is totally preference-based!), but the technique is the same to achieve the transparent and cloudy finish. Typically, only one or two coats of polish are needed—depending on the opacity of the shade—but the trick is to stop while the shade is still a bit see-through. Read: If you can’t see the white tip of your nail through your polish anymore, you’ve gone too far. Once you’ve achieved your desired amount of coats, finish with a high-shine top coat.
Step 3: Nourish Your Skin and Nails
One thing you’ll never see paired with a milky manicure? Dry, cracked hands and cuticles. Liberally apply cuticle oil and moisturizer directly after your polish is dry and again every day afterward. This will not only help your manicure stay fresh for a longer period of time, but it will ensure that your hands and nails look supple and soft and are ready to show off your new milky manicure.